 Чт, 26 май 2016 Автор: Ксения Рахимова
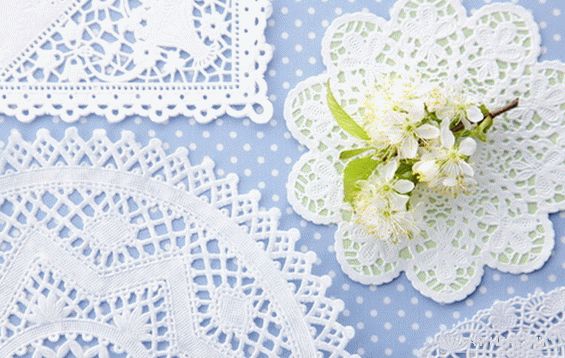
You can pleasantly surprise guests at a festive feast with napkins.
self made.
To create them you do not need to buy expensive and original
the cloth.
It is better to use the remnants of textiles of past years.
They are always in fashion.
And wound pleasant memories.
Contents
Do-It-Yourself Napkin Option # 1
This first version is easy to sew. All made rectangular.
The line falls easily. The master class is designed to make six
napkins.
The work will need the following materials and tools: fabric
63/45 cm in size, fabric as a companion, tonal thread for
both fabrics, ruler, chalk tailors, scissors, pins, iron,
ironing board and sewing machine.
Workflow steps:
1. The washed and smoothed fabric is displayed on the worker
the table. Future napkins are measured and drawn on it.
Each is 21 cm2 (as indicated in the figure);

2. The selected fabric as a companion is cut to
rectangles 21/3 cm in size. Cut 6 parts required;
3. Then you need to iron the edges of the fabric selected as
companion. The bend on one side only is 0.5 cm;
4. Now you need to correctly impose one fabric on another and sew
napkin. The main fabric is placed face up on the table. Bottom
the part that will be connected to the companion cloth is bent on
1 cm up and iron. The second fabric that is used in
as a companion superimposed on top. Her face
directed upwards. The fold of one fabric lay on the fold of another fabric.
It is recommended to fix the position with pins;
5. On the sewing machine laid two lines. Both are
1 mm from the edge. Each line can be laid from different sides.
This “line in 1mm from the edge” is laid by a special foot,
which is usually attached to the sewing machine;
6. The result was a napkin. Now you need to process the edges. They
bend 0.5 cm and iron. The fabric re-bends inward and
ironed. After that, you can lay a fixing line on all
edges of the napkin;
7. Аналогичным способом дошить остальные пять napkins.
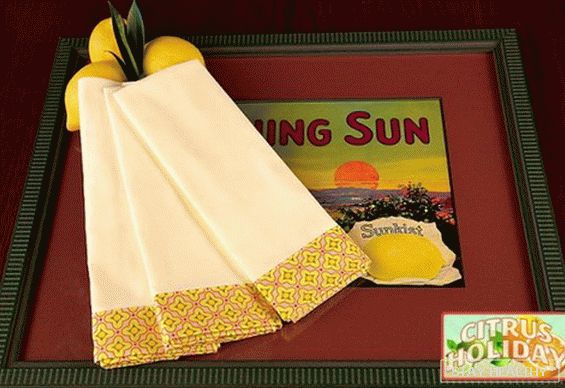
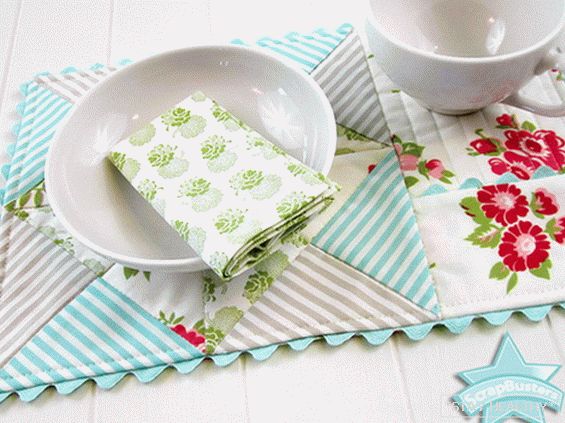
Do-It-Yourself Napkin Option # 2
This is a more complicated sewing technique. Requires patience and endurance.
The napkin is not designed to wipe the corners of the mouth, but is needed for
bedding under the dish. She has a pocket where you can invest
столовую тонкую napkin.

The work will need the following materials and tools: fabrics
different colors for the front side, fabrics are colored in quality
wadding, wadding, braid, thread in tone, ruler, chalk
tailor, scissors, pins, iron, ironing board and sewing
machine.
Workflow steps:
1. Wash and ironed fabrics are smoked on the working
surface. For the pocket is cut a rectangle size 22/12
see. The triangles in the figure are cut from
rectangles. Cut two rectangles of size 8/12 cm. And
another 22/32 cm rectangle;
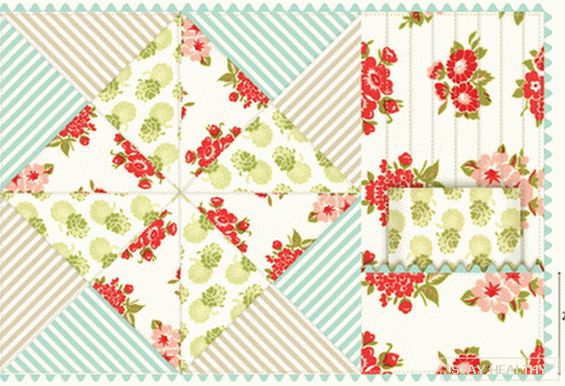
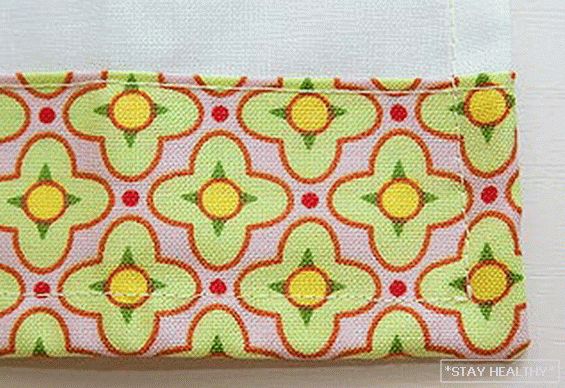
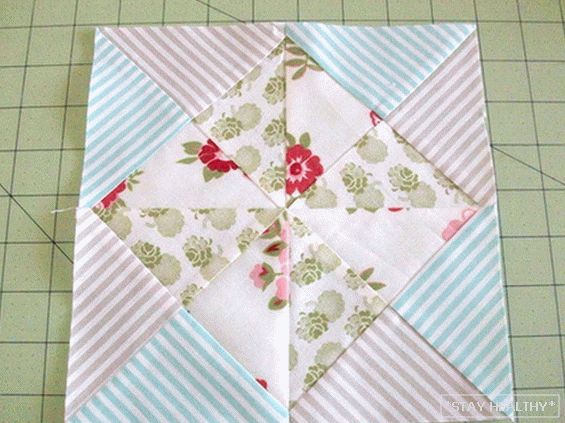
2. From the fabric (in the picture – in a blue strip) are cut: square
25.5 cm (for a simple napkin), two squares 8.5 cm. The last two
divided into two triangular details each;
3. From the fabric (in the picture – with a gray strip) are cut two
квадрата 8,5 см. They также делятся на треугольники;
4. A large rectangle is cut from the batting
25.5 / 38 cm. If desired, the layer of batting can be double;
5. Triangles are combined and sewn on the wrong side.
It is recommended that fastened fabrics be immediately fastened with pins;
6. Decor pocket. Take a piece of cloth for the pocket and that
the side that will be at the top is bent
inside twice and stitched. From seamy side sewn
tape cut;
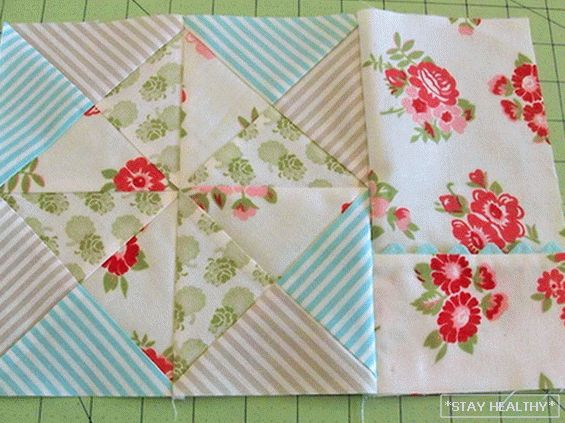
7. A large square with stitched together triangles sewn to
отрезку ткани вместе с pocket (как на вышеуказанном
figure);
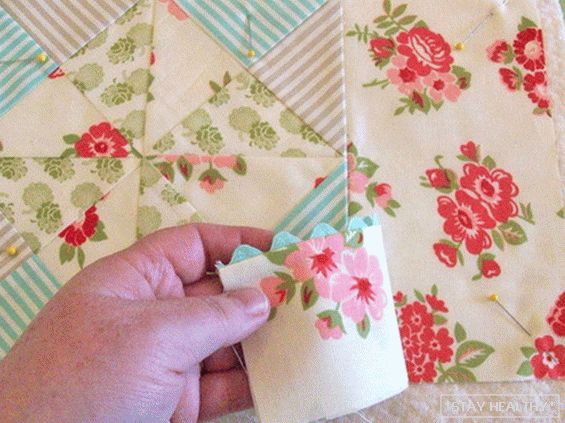
8. Then the bottom is enclosed with a batting. If desired, a batting
you can sew another colored fabric to the wrong side
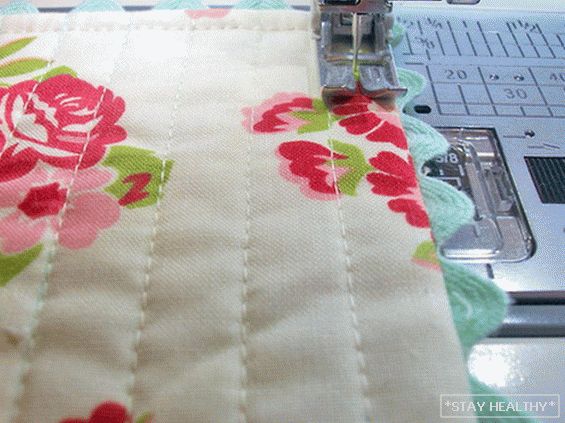
hand napkins looked more beautiful;
9. The lines are laid exactly on top of the connection of different
fabrics;
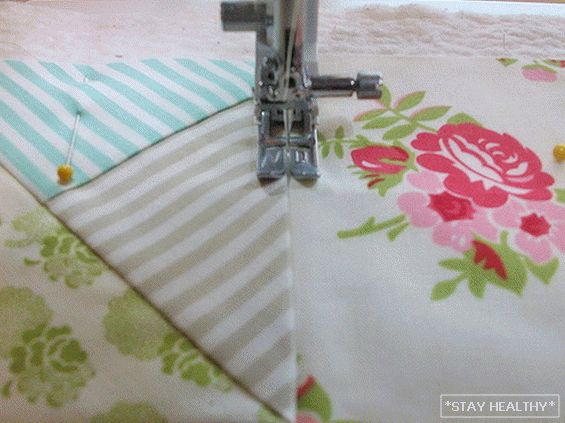
10. Ткань, находящаяся под pocket, прошивается особым
in a way. At a distance of two centimeters from each other
superimposed parallel lines. Stitches sew into one
multi-colored fabric with batting;
11. The resulting napkin with your hands bends twice
all edges and ironed;
12. On the wrong side of the tape is attached. It fastens on
pins in a circle on the entire napkin;
13. Band with curved edges scribbled in one go. Available
option when the curved edges are first stitched and only then –
tape. The first option requires more experience and
dexterity;
14. A small thin napkin is sewn according to a simple pattern. Its edges
twice bent on the wrong side. Bends are fixed
pins. The fixing line is laid. Product
smoothed out.
The result was a wonderful dining room napkin of a complex cut. Behind
batting account she acquired some insulating temperature
properties. On a napkin made with your own hands, you can put
burning dishes. If necessary, it can be washed in
стиральной машине, не боясь повредить the cloth.