 Ср, 25 янв 2017 Автор: Марина Ивасюк
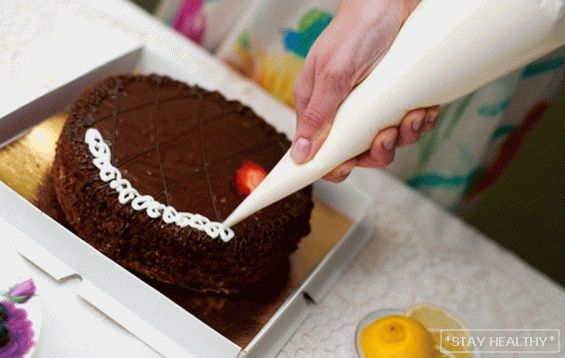
When we make a pie or a cake, we think about how it’s best.
to decorate. You can simply pour it with glaze, and you can decorate
painted flowers, patterns and petals. To create intricate
patterns of cream or paste you need a pastry bag.
But what to do if such a bag is not at hand, and decorate
cream cakes or make rosettes of cookie dough you need to
this minute. Do not despair, you can make a pastry bag
своими руками из подручных of materials.
Contents
Pastry bag do it yourself from a plastic bottle and
cellophane bag
In order to make carved patterns of cream you need to
the mass was squeezed out of the bag with a carved tip. He must be
firm and withstand any pressure applied to him otherwise the pattern
will not work. For these purposes, and used plastic
bottle.
You will need the following materials: plastic bottle,
small clean plastic bag, marker, scissors and
stationery knife.
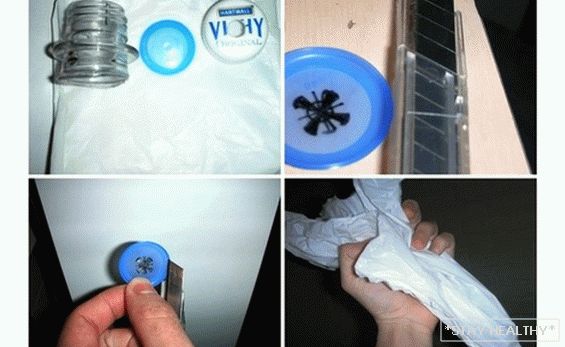
Stage 1
Measure from the top of the bottle 4-5 cm. And mark. Make a
multiple tags and connect them with one line. Next, cut off
neck on the designated strip with scissors. To work you
only the bottleneck is required, so the rest of it
can be thrown into the bucket.
Stage 2
Unscrew the plug and remove the internal silicone from it.
layer, which is in each lid.
Stage 3
Make a hole in the lid with a diameter of approximately 0.5-0.7
mm
Stage 4
On the silicone interlayer, which you got out of the cover with a marker
In the center draw a pattern that you would like to receive. With
using a stationery knife, cut the pattern along the contour. Do not hold back
your fantasies, because of how you make a cutout, this will be
get a pattern.
Stage 5
Insert the silicone layer back into the cover. Again
thoroughly wash the neck and bottle cap of plastic chips
and dust.
Stage 6
Cut one corner of the bag 2 cm., Put it on the thread and
screw the lid on so that the packet is supported between the lid and
threaded neck of the bottle. If you badly fix the package, then
the bottle will not hold and work with such a bag not
work out.
There is another option, how else can you seal the bag and neck
the bottle. Paste the package into it. Pass the cut corner of the pack into
pulling out the neck from the side of the trimmed part and remove from
the neck. Wrap the edges of the bag on the thread and tighten the cap.
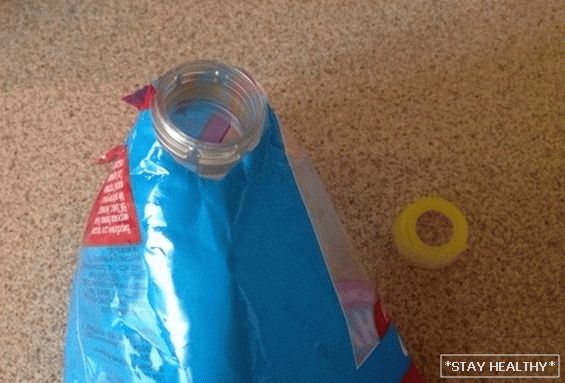
In other words, a neck will be worn on the cut corner of the bag.
bottles, and the edges of the cut corner of the bag are twisted and fixed
swirling lid. So, you got a pastry bag with your own
by hands. Cake cream or cookie dough is packed in a bag,
and it will be extruded through the lid, acquiring the form of
the pattern that you come up with and cut out.
You can make several interchangeable covers with a different pattern inside.
The package in which the mass is located is disposable and discarded immediately.
after use. Next time you need a new one.
bag
By the same method, you can use a bottle with an elongated
lid for ease of drinking.

It can be used as a type of pattern, wearing the same
neck if the thread is the same.
Also, the hole in the bottle cap can be made wider up to 1.5 cm in
diameter, while the pattern on the silicone interlayer can be made
bigger and harder.
Pastry bag do it yourself paper
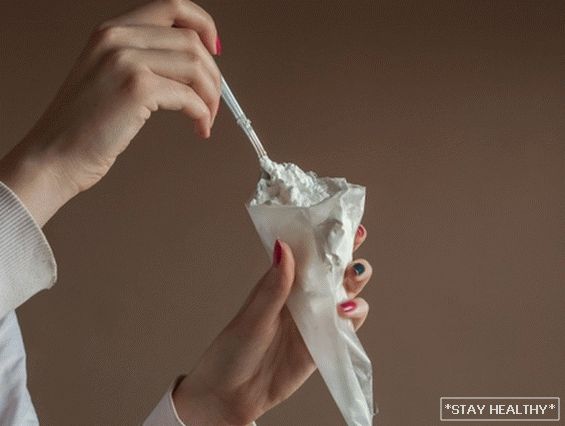
For this type of pastry bag, you will need a strong sheet.
waterproof paper and scissors. Perfect parchment sheet
for baking.
Stage 1
Make a из листа ровный квадрат и сложите пополам наискосок или
from corner to corner.
Stage 2
Put the resulting triangle so that it looks straight
angle up, and the rolled part to you. Two sharp corners
are located on the sides.
Stage 3
Now roll it up with a funnel. The image below shows how
need to be folded correctly.
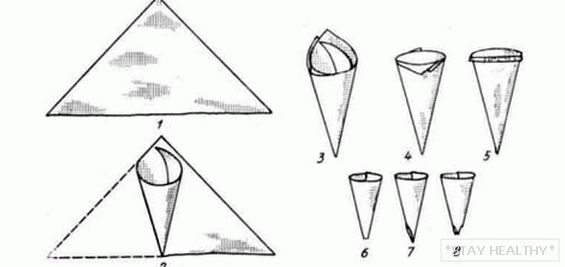
Stage 4
Upper edges can interfere with work with confectionery,
therefore, they are bent or cut.
After filling the package with the contents, the edges (if you don’t
cut) can be wound inside or twist spiral. In
the second option to squeeze the contents of the package will be much
more convenient.
Stage 5
Cut off the rolled angle of a diagonal or give it a beautiful pattern.
in the form of an asterisk or wave.
Pastry bag with his hands ready. It is disposable, therefore
at the end of the work is thrown into the dustbin.
Such a paper bag is perfect for working with
a delicate consistency of cream or paste. For a dense test should
use a pastry bag made from more solid
material.
Confectionery bag do it yourself from a plastic bag
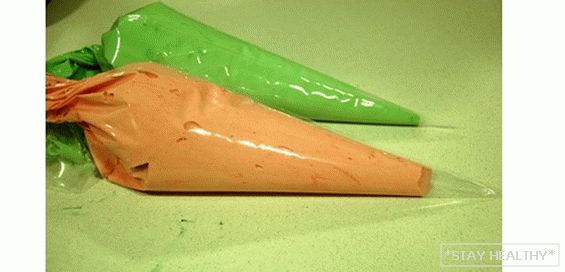
In order to make such a bag you need a tight
plastic bag. By density, cellophane is quite suitable,
which made the sleeve for baking food in the oven or
file for documents.
Option 1
The cellophane web is collapsed in a funnel, as in previous
version of the pastry bag made of paper. The sharp angle is cut in
form of a pattern or a semicircular hole.
Option 2
You can also use his package, in which the cream is placed,
and then collapsed by a funnel. In this case, the resulting sharp
the corner is neatly cut with scissors, through which the contents will be
squeezed onto the prepared surface.
Confectionery bag do it yourself from a used fragment
aluminum cans
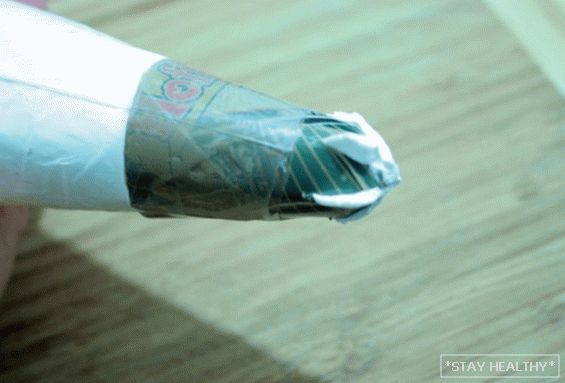
В качестве of materials для этого вида кондитерского мешка
required: used aluminum beverage can,
strong cellophane bag and adhesive tape.
Stage 1
Wash the aluminum can of residual beverage and dust and cut
piecemeal. Cut off the top and bottom of it, leaving the middle
in the form of a ring of the walls of the jar. Cut the ring along. So
This way you have a thin sheet metal
aluminum.
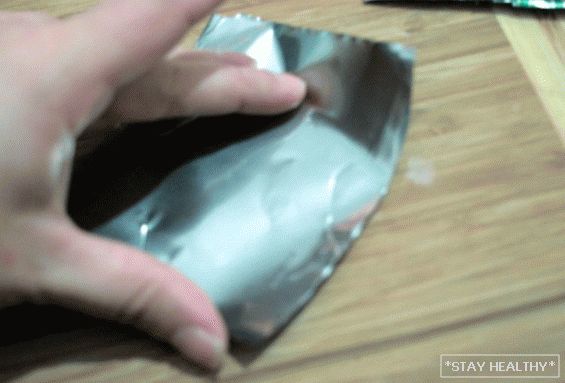
Stage 2
Fold the metal sheet with a funnel and fix the outer edge
scotch tape
Stage 3
Cut the narrow edge of the funnel with an asterisk-shaped teeth.
other pattern optional.
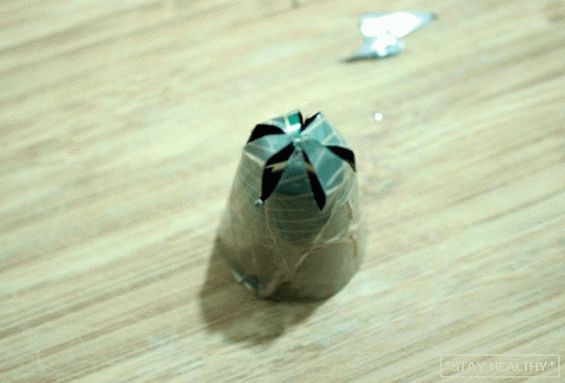
Stage 4
Scissors cut the corner of the plastic bag. Regarding the angle
the cut should not go higher than 2 cm.
Stage 5
Insert the metal cap into the bag so that it
locked in and out through this hole.
Кондитерский мешок своими руками из фрагмента aluminum cans
is ready. You can fill it with dough or cream and start
work.