 Вт, 04 окт 2016 Автор: Ксения Рахимова
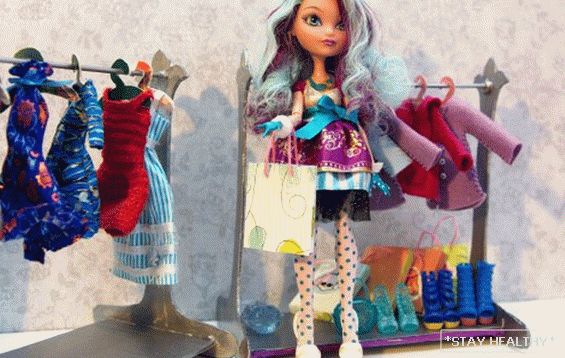
Craftswomen sewing clothes for their dolls will be happy
today’s master class.
Such a sewing hobby has some subtleties: patterns
very tiny and require maximum dexterity and agility.
However, such a remark is also a plus, since fabrics
consumes very little.
In addition, this is a pleasant and useful exercise.
Contents
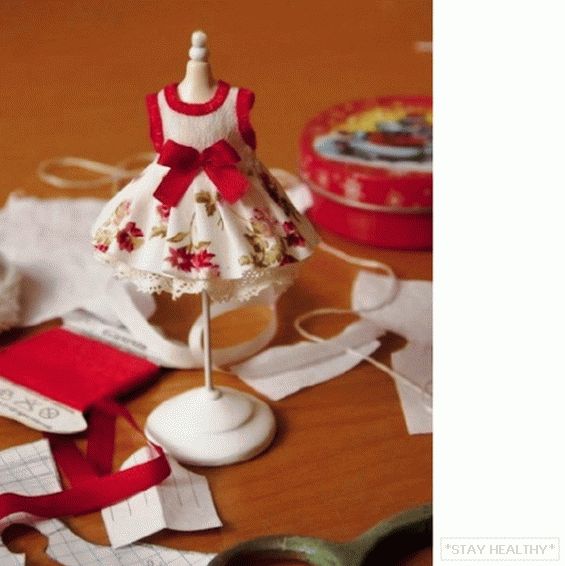
Summer dress for a doll do it yourself
This dress is designed for very tiny dolls. the cloth
You can use absolutely any of your personal desire. The main thing,
understand the sequence of work.
Материалы и инструменты: 2 вида тканей (можно
choose cotton or linen), ribbon scarlet, lace, floss red
colors, needle, scissors, monofilament, pencil, glue stationery
transparent, ruler.
Stage 1
The picture below shows an example of the pattern. It needs to be drawn
or print using computer and printer.
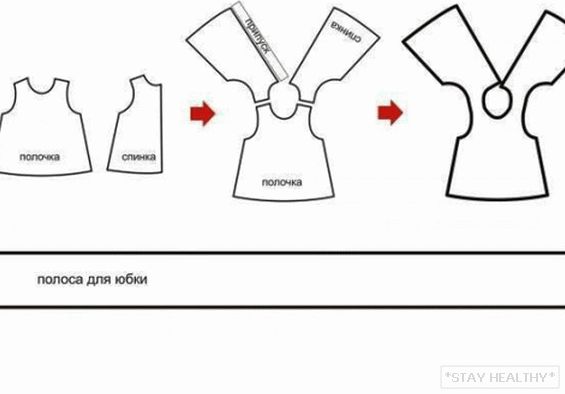
The pattern is designed for a pupa 15 cm tall. If necessary
on the computer, the pattern can be visually increased.
Stage 2
The pattern is cut along the contour with allowance of 0.5
see. The resulting parts are laid out on the fabric. Patterns are circled
pencil and cut out.
Stage 3
All edges of parts are coated with glue. And some is expected
time to dry glue.
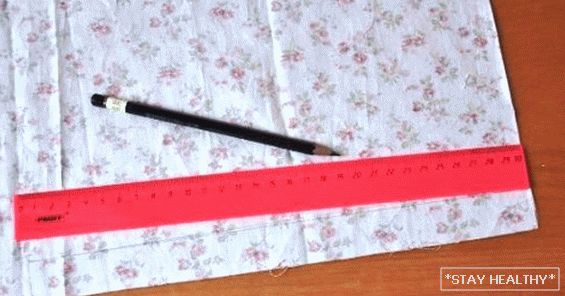
Stage 4
A simple rectangular strip 25 cm long is cut out of the fabric.
The edges of this part are also coated with glue.
Stage 5
At this stage, rectangular is glued to the detail of the dress.
section. It will hold the future loops of clothes for the doll.
do it yourself

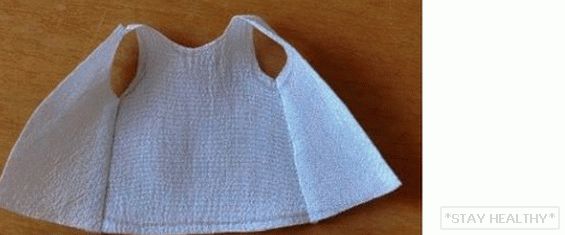
Stage 6
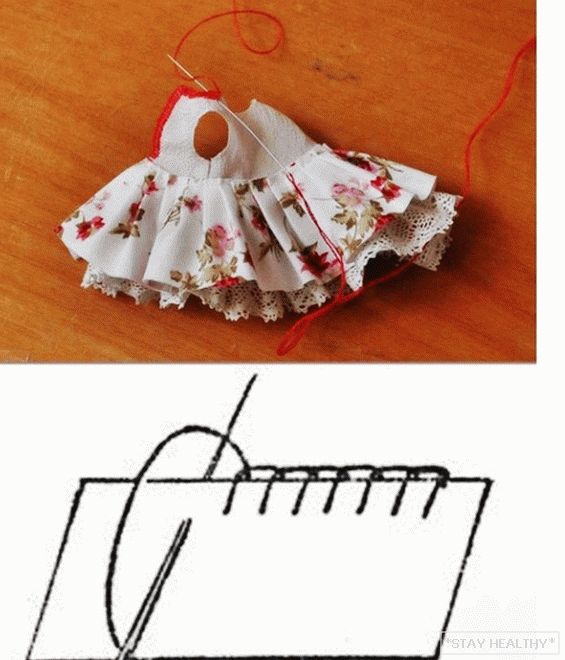
Both details of a back are applied to a detail of a shelf. Take turns
One side is sewn by hand first, and then the other.
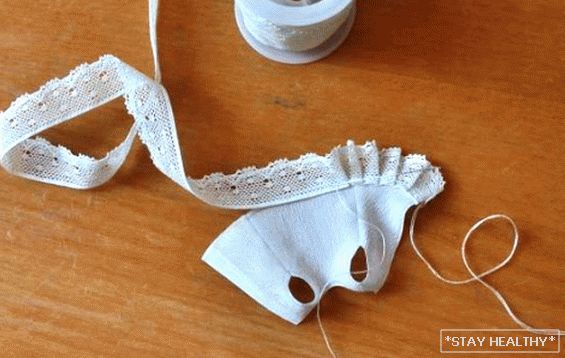
Stage 7
Lace is sewn on the resulting piece of clothing for the doll.
Everything is sewn by hand. The lace ribbon bends into a small fold,
like on a picture.
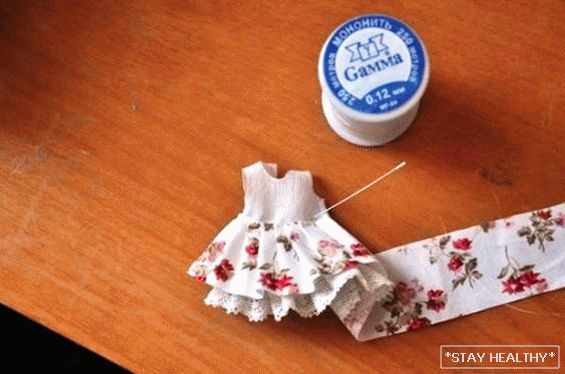
Stage 8
It’s time to sew a 25 cm long strip of fabric. It is sewn
over the lace on the front side with small folds. the cloth
tucks 0.5 cm by hand while sewing. On this
Stage is recommended to use monofilament.
Stage 9
The armhole is swept over. Also – a mouth and a cut on a back. The seam
very small and frequent is used. On this этапе берется красная
thread floss.
Stage 10
Button loops are made by hand. These are simple loops.
Most often they are used when hanging kitchen
towels.
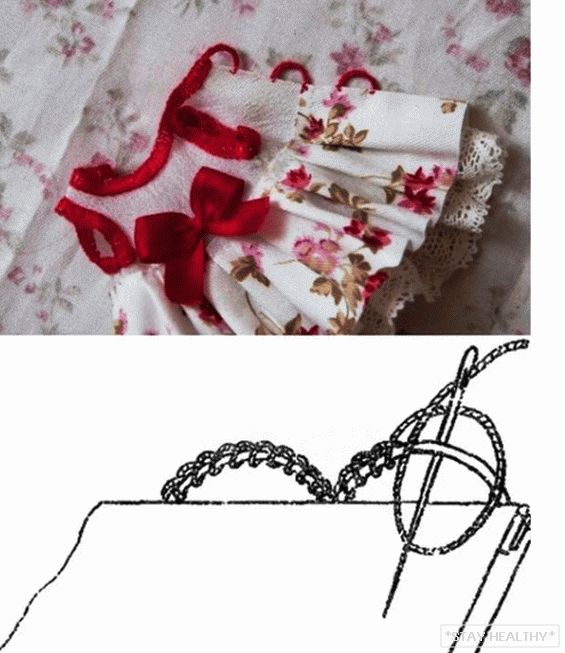
Stage 11
A bow of scarlet color is sewn to an almost finished dress.
The edges of the ribbon are best melted by the candle.
Handmade summer dress for a miniature doll
is ready.
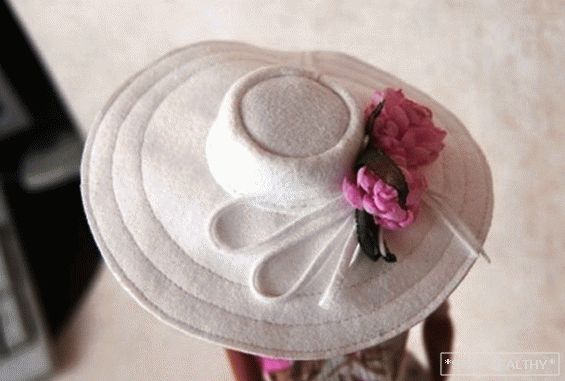
Do-it-yourself doll hat
This charming hat will be just at the time of the doll from
the above master class. It is made simply, but in
help need to take a sewing machine. All materials are widely
distributed and sold in the nearest garment shop
accessories.
Материалы и инструменты: замша белого цвета,
lining fabric, decorative flowers, pencil, scissors,
compasses, tailor pins, threads, needle, sewing machine.
Stage 1
With the help of a compass draw the fields of the future cap. Their length
it is desirable to measure in advance on the existing doll.
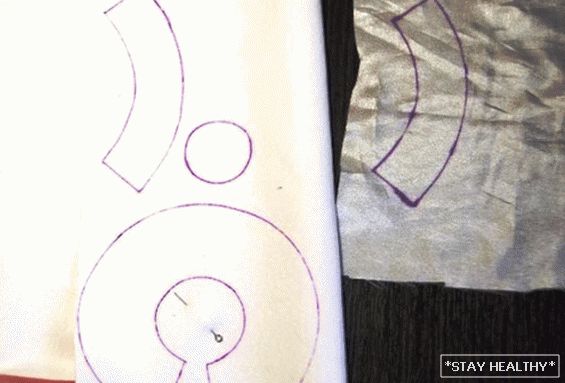
Stage 2
Pieces of white suede are applied to each other (there are
in view of two details of the fields). On them the paper pattern is put. Before
trim scissors future parts need to attach on the garment
typewriter.
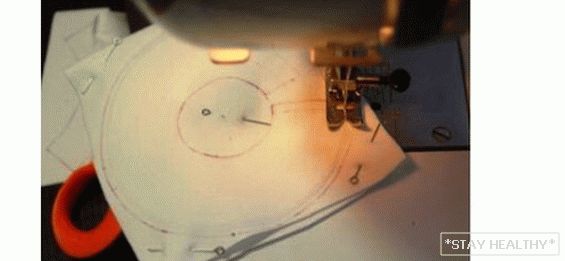
It is noticed that the cap will have the shape of a mushroom with lowered
down by the margins, if you lay the line upside down. AND,
on the contrary, the horizontal shape is obtained when laying the line
bottom side down. The master class is an example of the first
sewing techniques.
Stage 3
On the sewing machine are still seams around the circumference.
It is required to create 4 circles of seams with indents in 0,5 cm. For
Convenience these circles better draw in advance with
compasses So get stiffeners for your doll hat
by hands.
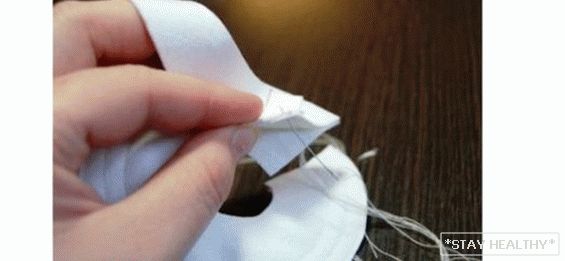
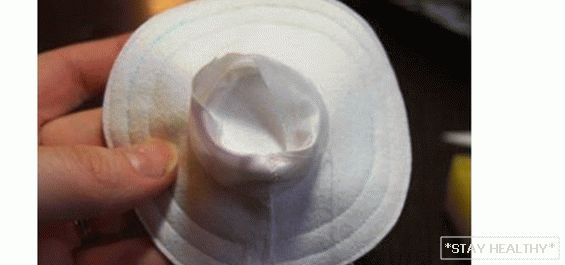
Stage 4
Take the crown – the main upper part of the cap for the doll. She is
sewn by hand with its long side to the top part
fields.
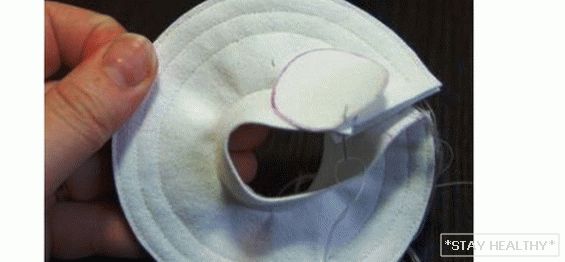
Stage 5
On this этапе к шляпке для куклы своими руками пришивается
bottom.
Stage 6
The remaining side seam overlaps. Stitched. Above
on the front side is made decorative seam, which
closes a connection of tissues.
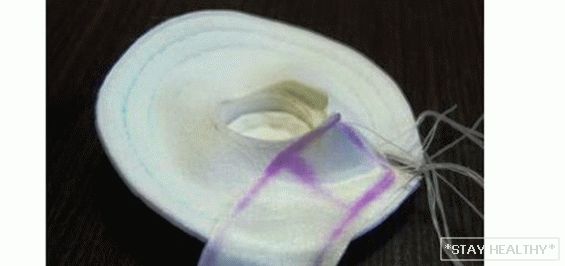
Stage 7
Lining fabric is sewn to the bottom of the cap
lining. At the end of the two edges are connected by a seam.
Stage 8
Beforeнышко зашивается вручную на потайной шов. Material hiding
inside.
The product can be decorated with artificial flowers and
homemade cord cut from suede. Its edges on sewing
the machine does not need to handle.
Hat with a brim for a doll do it yourself!
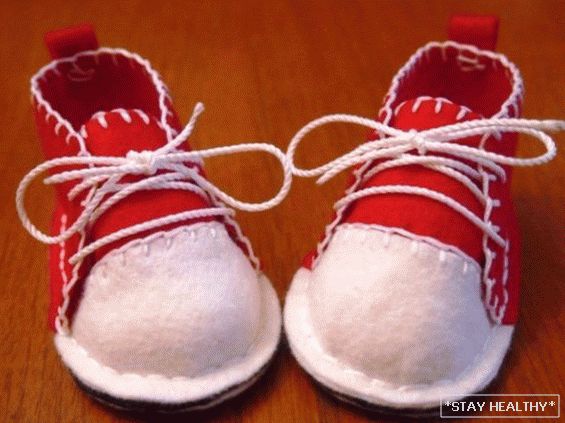
DIY doll clothes – shoes
Such an item of clothing as shoes is also necessary. Easiest
to make a pair of felt shoes. This material is long
He proved himself only on the positive side.
Материалы и инструменты: фетр красного,
beige and black colors thick threads, laces, rep ribbon
red, scissors, pencil, thread, needle, hole punch.
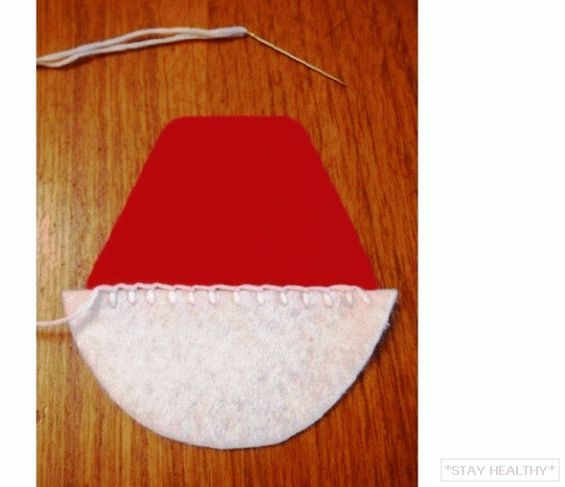
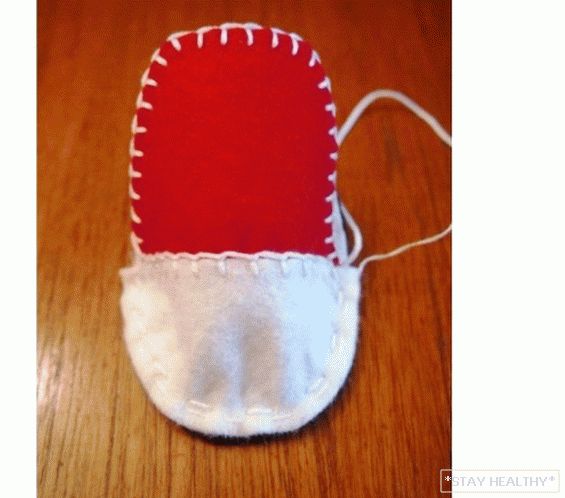
Stage 1
Details are made of felt for future shoes, as in the picture.

Stage 2
First, the front part is stitched – sock.
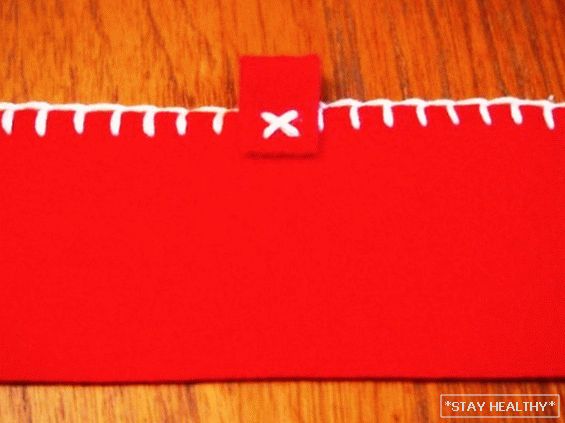
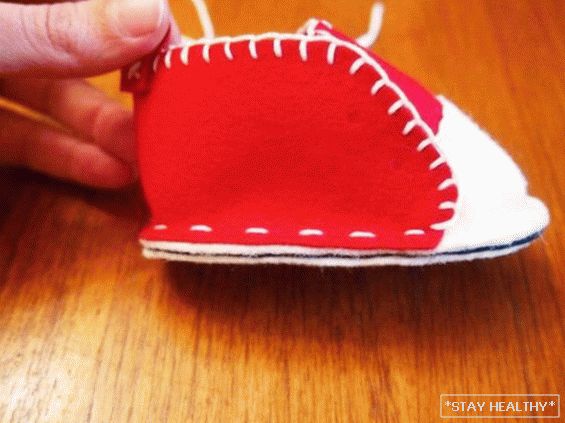
Stage 3
Next, the back near the heel is stitched with a line with
decorative function. Stitched repp tape.
Stage 4
The sole is attached to the shoes.
Stage 5
AND, наконец, боковые стеночки можно поставить на свои места. The seam
laid on the front of the product.
Stage 6
With the help of a hole punch, holes are made for the laces. Are inserted
laces and tied on a miniature elegant bow.
Handmade doll shoes are ready! If desired
such shoes can be made from any other favorite
tissue.