 Ср, 17 авг 2016 Автор: Павел Якименко
Cold porcelain is the most affordable, inexpensive and very convenient.
for modeling material.
Working with him is completely safe, and for creating crafts
need special skills of sculptural sculpture, sculpt porcelain can
even a preschooler.
You can make cold porcelain yourself at home
conditions.
Contents
DIY cold porcelain: making recipe
There are a lot of recipes for making cold porcelain, and
each master has its own secrets and components. The common thing in them is: it is
PVA glue (white, building), 1 part, 1 part starch
(it is recommended to take corn), 2 tablespoons of glycerin
(available at the pharmacy), 1 tables. spoon of baby cream (or any
other).
The glue is poured into a frying pan or in a saucepan, cream is added,
the whole mass must be continuously stirred with fast movements,
the saucepan is put on the fire to heat, gradually poured out
starch, and stirring continues.
The mass almost immediately thickens, and will resemble unmixed
the dough, gradually in the saucepan turns “snowball”, it is necessary
lay on a greased surface and let cool slightly.
Then, the mass is kneaded until smooth. In this form
mass can be stored up to 2 days, but it is better to use it
right away
Cold porcelain as a material: we make handmade crafts for
beginners: master class
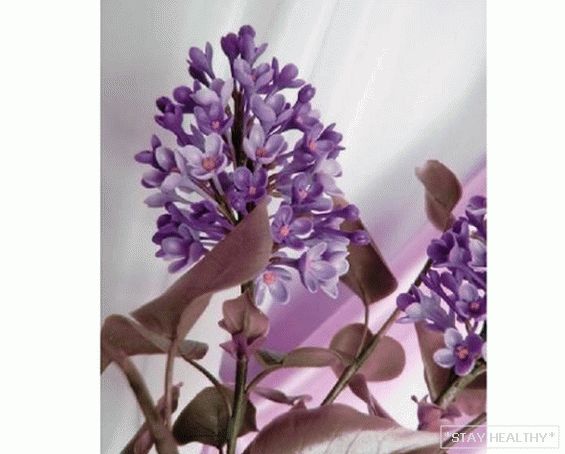
Lilac flower making:
For starters, a white flower is molded, and shades of color are applied
later.
The mass dries out pretty quickly, so you need to close it with a piece
plastic film after each pinching.
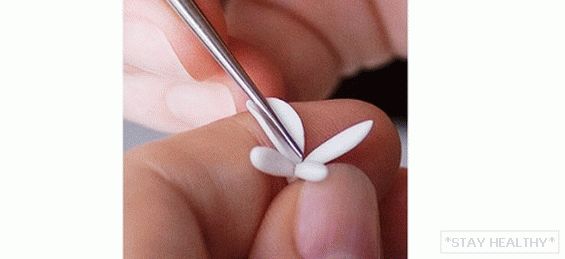
1. Pinch off a piece of mass the size of a pea.

2. With the help of fingers, a pea is shaped into a drop.

3. A small scissors drop is cut in width, several times.
so that the petals are obtained. Then, gently straighten
the resulting petals.
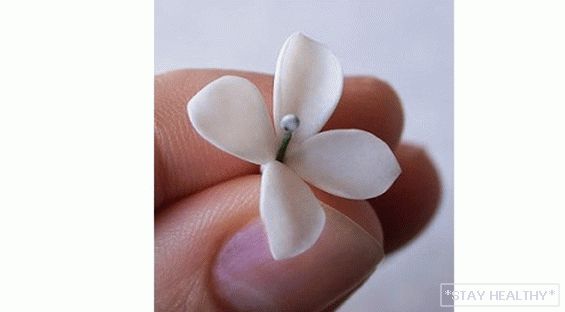
4. The flower goes about three approaches, the finished product.
the shape is attached with tweezers.
5. For the manufacture of the stem is taken the wire, cut the desired
length, double folded and twisted. Fold need to dip into the glue
PVA, the tip – to poke a flower in the middle, and pull the wire
until it stops. The product is installed in a vase, until the glue dries. When
glue will dry, petals need to close.
6. We carry a flower with petals of another shape. Also molded
a droplet, but now not its wide part is cut, but rather narrow.
We continue to proceed step by step, as with the first flower.

7. Another flower option is a lilac bud. For this pea
Immediately need to strung on a wire with glue. Directly on
wire fingers bead shaped drop. A pair of scissors
nadretsya the very top. That’s it, bud is ready!
8. We do this several times until it is created.
enough buds and flowers.
9. To get a colored flower, you need to put a lot of weight in
kneading process. For this, a piece of mass is pinned inwards.
drips a little acrylic lilac color. Not important
pour, otherwise the mass will be badly stirred. Now need
knead until uniform.
10. After making enough flowers you need
send them to dry in a place where there are no drafts. About this
leave the day. After drying, the flowers decrease in volume by
twenty percent.
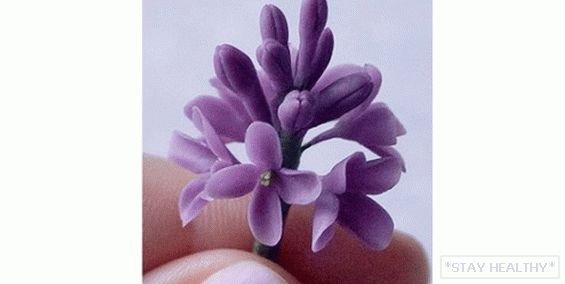
11. Now you can collect inflorescences, for this wire.
twisted. Inside the flower a drop of paint stains
middle.
12. The leaves are cut with scissors from the pre-rolled
mass of green. Streaks are performed by a stack (sticks for
sculpting).
13. A bouquet is collected. All is ready! You can admire!
Sakura flower making
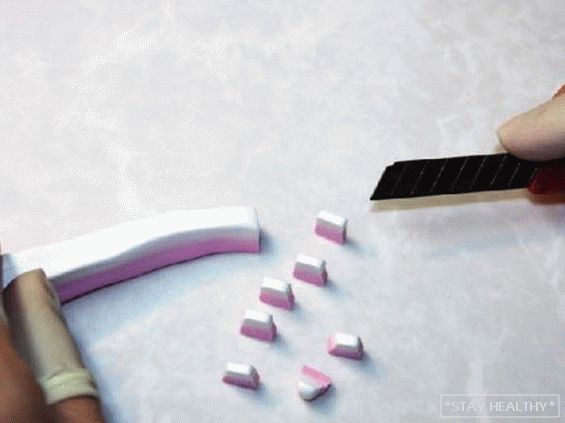
1. Sakura sculpt no less interesting. To do this, from the mass ride
two “sausages”: unpainted and tinted pink. White sausage
should be more than pink, doubled. Now they need to be folded
together and shape a little bar. Then, it is cut into cubes.
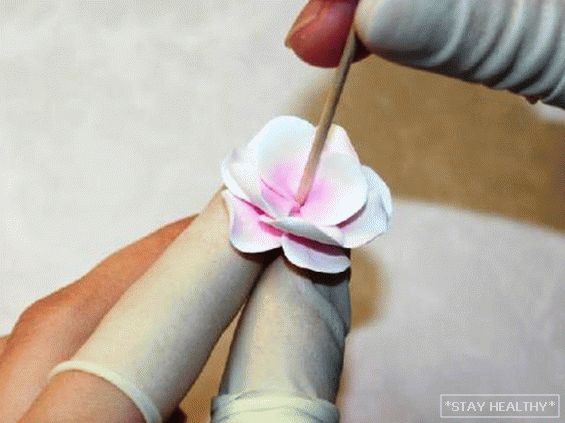
2. A petal is molded from the cube.
3. Petals are collected in a flower, they need to be held small
the amount of pva. Collected petals make wire under
small stalk.
4. Buds are made similar to lilac buds. Do not forget
about a bit of glue on the wire.
5. Sakura sepals consist of five petals, they can
toned cosmetic shadows. Repeat the operation – wire,
glue, going bud and sepals.
6. A sprig of sakura is going in the same way as a lilac branch Need to
take into account its natural appearance (you can first look at
Sakura photos on the Internet). On a twig is applied small
a layer of brown mass imitating the bark of the twigs. Fingers need
impart characteristic cracks and protrusions.

Rose from cold porcelain do it yourself
For the manufacture of roses will need everything on
a photo:
1. Roll a small ball.
2. A drop is formed from it.
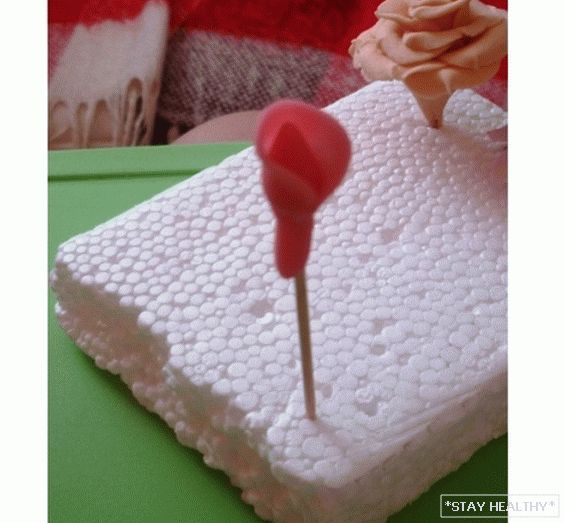
3. The tip of the toothpick is dipped into the PVA and strung on it
the resulting drop wide base down. This is the base of the flower. For
fixation and stability you need to stick the end toothpicks in foam plastic
or sponge.
4. The pistil of the flower is best prepared in advance so that they can
to dry
5. Ball form again. Finger shaped ball
drops.
6. On the palm weave our droplet, forming a rose petal.
Make sure the edges are not thick.
7. A drop of PVA is applied to the base of the rose for coupling and
the first petal is superimposed, it should slightly “hug”
the middle.
8. Repeat steps 5-7, forming the desired number of petals.
Starting with the second petal, each subsequent need to impose
overlap on the previous one.
9. We look at the photo of the rose flower and adjust to
real flower (we make tucks and bends in the right places)
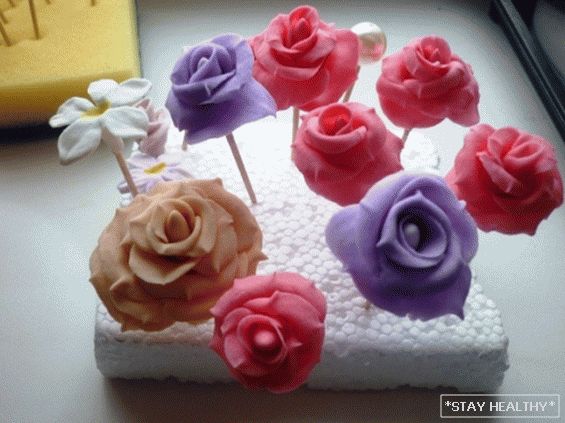
Of these flowers, you can later make a decorative
Topiary – a beautiful tree on a long leg. Branches of lilac and
Sakura can decorate the house, or give to someone.
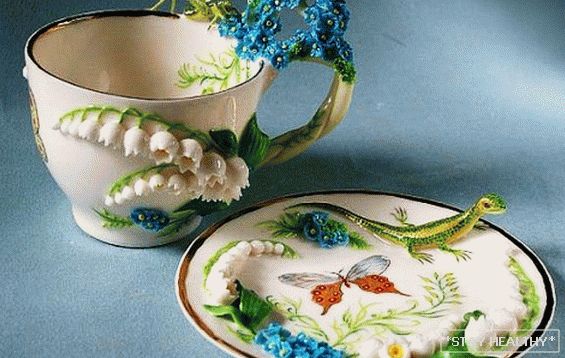
You can make not only flowers from cold porcelain, but also
various figures, charms, panels, decorate with stucco pots with
colors, perform interesting bas-reliefs and many more
handicrafts.