Gel Polish has gained immense popularity among the female half.
humanity due to its property for a long time to keep nails
(up to 20 days) do not grow dull and do not burst. In addition, gel polish makes
the nail plate is stronger, and preparation for its application does not cause
hurt her
Content:
- What is a pedicure with gel polish
- What is needed
- Pedicure with shellac step by step
- To keep shellac longer
- Design Ideas
Gel Polish is used for manicure and pedicure. But
lovers of salon procedures know that a pedicure with gel coating –
pleasure is not cheap. Especially if you want to cover the nails are not
monophonic color, and the original pattern. Alternative to this
there is. Everyone can learn to do their own pedicure.
gel polish at home.

Contents
What is a pedicure with gel polish
Gel polish is often used when covering the toenails.
It has become much more popular than ordinary varnish, gel or biogel. it
due to its gentle action on the nail plate and long
a persistent result.
The main advantages of this coating:
- subject to all rules, the result is saved for at least 3
weeks; - its application, unlike conventional gel, does not require a strong
grinding the nail plate; - ease of use, it is easy to apply and remove;
- after removing the nails are quickly restored;
- a large selection of shades, effects;
- protects nails from the negative effects of the external environment.
What is needed for the procedure at home
To make a pedicure yourself you need to prepare:
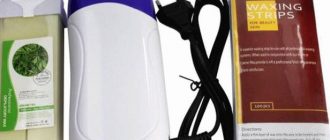
- UV lamp. It is the main tool for carrying
procedures. Use it to dry shellac. Time required for
It depends on the power of the lamp. With a power of 36 W gel polish dries
about 2 min., using a lower power lamp requires more
time to dry. Experts recommend to buy a LED lamp,
it is much more expensive than others, but dries the nails for 10 seconds. - Nail file. It is better to give priority to the instrument with
marking 220-240 grit. But можно использовать и обычную мягкую
nail file. - Degreaser for processing nails after polishing. At home
conditions for the degreaser can serve as a nail polish remover or
medical alcohol. - Soft synthetic napkin. It is used to process
nail degreaser. Vatu in this case is better not to use,
so after it may be villi. - Bondex (a drug that improves the adhesion of gel polish to the nail
plate). It is used in their work by professional masters.
manicure and pedicure, but in the home (if you can’t
purchase means) it can not be used. - Base (agent that is applied under shellac). For her pedicure
use is required. The range of bases for manicure and pedicure
big enough. There are preparations containing minerals and
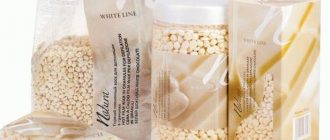
vitamins that strengthen the nails. - Gel polish. You can purchase each bottle or buy separately
a whole set that contains all the necessary colors. - Top coating (means securing Shellac). It should
to be of high quality, it is better to choose without a sticky layer.
Particular attention when choosing funds should be paid to the basic and
finish coating. Resistance and
duration of the result.
It should be borne in mind that gel polish is not removed in the same way as
ordinary varnish. To remove it without problems, without damaging the nail,
need to stock up on special tools:
- 1. Plain aluminum foil.
- 2. Orange sticks specifically designed for
manicure (if not, you can use a toothpick). - 3. Cotton pads.
- 4. Manicure spatula.
Stages of nail gel polish
What is needed:
- Alcohol or special product to remove the sticky layer;
- Orange stick;
- Cuticle remover gel;
- Tweezers;
- Nail file;
- Base and top for gel polish;
- Color gel polish.
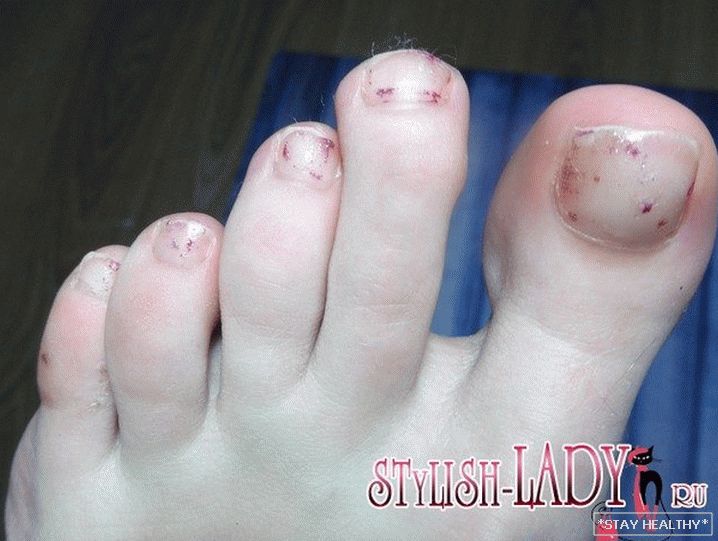
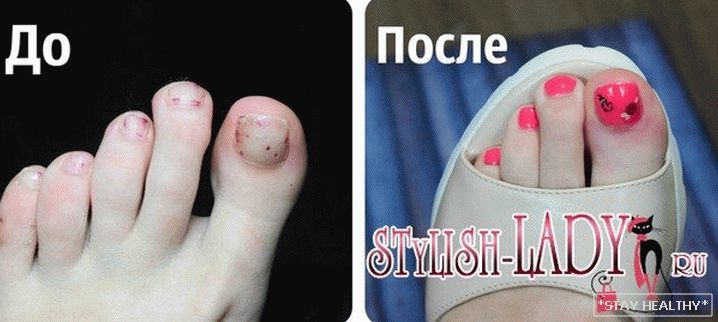
That’s how ugly our fingers looked like before a pedicure.
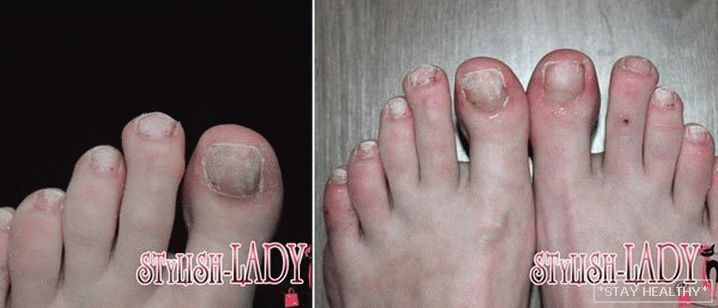
1. We take the file and erase the remaining varnish, parallel leveling
nail repair We remove the extra length. F: 5-7
2. Move the cuticle with an orange stick and apply the product
to remove the cuticle.
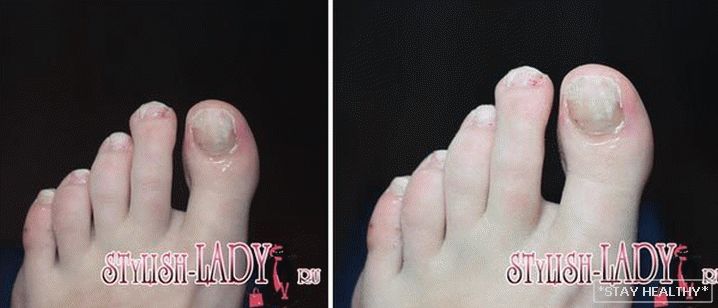
3. After 1 minute, move the cuticle back, under the influence of
means it moves away well from the nail, if there is something extra,
remove with tweezers.
4. Wipe the nails with a preparation to remove the sticky layer.
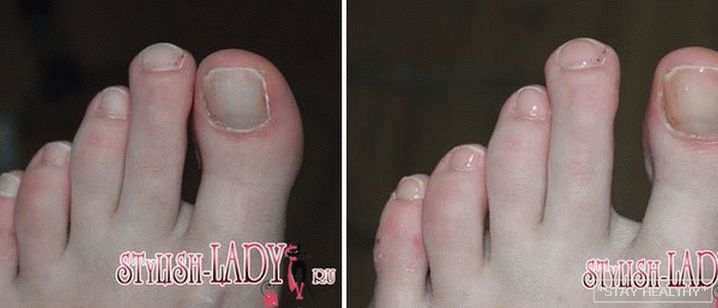
5. Apply the base and dry in the lamp.
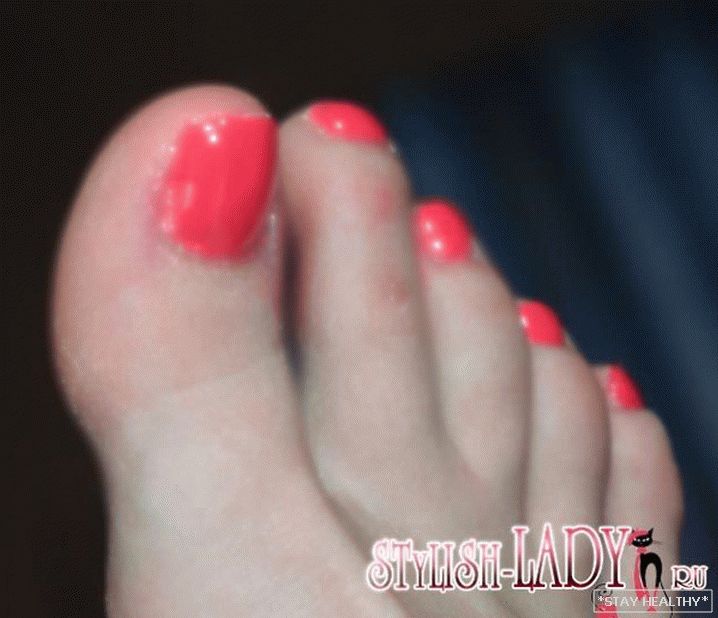
6. Then comes the color. Since our feet are most often in
closed shoes, it is best to use dense shades that
look good in 1 layer.
7. We cover all the nails, except for the thumb, with the top and
dry.
8. On the remaining 2 nails with small glue, then
We cover the top and enjoy a beautiful pedicure.
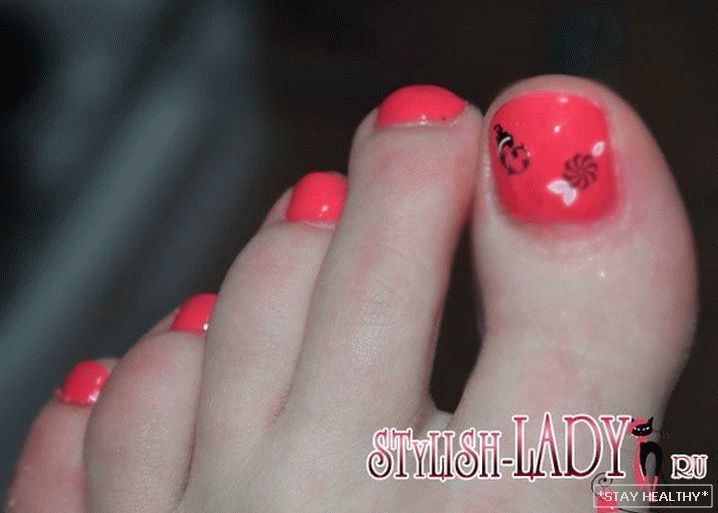
All materials are dried in an ice-lamp for 30 seconds. Stickers better
Just use black and / or white on a bright background, this will create
extra and beautiful contrast.
Tips to help you keep your results long
There are some recommendations, given that when working with
shellac can save a pedicure in perfect condition as possible
longer. Experienced masters recommend:
- All means applied to the nail with a thin layer and gently.
The structure of shellac allows even a small amount of it to be applied.
evenly. If you lavishly cover the nail plate with gel polish,
there is a risk that after a couple of days the coating will come off the nails
in layers. When doing a pedicure in the form of a jacket, the free edge is covered
twice. - Do not rush to dry nails. Varnish should be dried only under
a lamp. - Each tool (including base and top cover) should
apply not only on the plate, but also on the end of the nail. it убережет
color coating against damage. - Hygienic pedicure is better to do without using water. AT
Otherwise, the shellac will quickly peel off. Doing a pedicure with
using water, you must wait at least two hours before
what to apply gel polish. - Butгти нужно хорошо обезжирить.
- AT течении первых суток после педикюра не рекомендован долгий
contact with water (use of the sauna, swimming pool, bath).
In order not to harm the nail plate must adhere
following recommendations:
- No need to completely grind off the top layer of nails. Will be
It is enough to polish them with a buff (a special file
rectangular shape, which is used for polishing). - Do not use metal items to remove shellac. Not
try to remove it using force. it повредит пластину и придаст
unaesthetic appearance of the nails. Remove gel polish gently
applying soaking and orange sticks. - After removing Shellac, apply a special for 2-3 days.
therapeutic coating that will nourish the nails with useful elements,
protect them from delamination and breakage, make them strong.
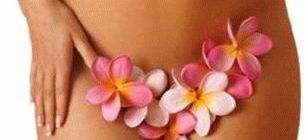
Notсколько идей дизайна для педикюра
Shellac is quite easy to use. He allows each
woman at home to easily create your own
nail design. You can use for this not only classic
shades that always help to hide flaws and errors
pedicure, but also a combination of bright contrasting colors. Additionally
nails can be decorated with decorative pebbles and rhinestones. Wherein
without worrying that closed shoes, sea water or sand will damage
pedicure.
Effectively looks on the legs jacket, horizontally located
stripes of contrasting colors, the resulting abstractions
Mixing several colors of lacquer (before drying varnish is mixed
right on the surface of the nail with an ordinary needle).
To create a pattern on the nail using several colors
gel polish and thin brush. First put the base, then the nail
cover with two layers of varnish and dried, adhering to the rules.
After that put drawing and dry again. ATажно следить за
so that all lines and decorative elements are applied thin
layer did not go beyond the boundaries of the nail plate and did not spread.
Wherein нужно не забыть «запечатать» торец ногтя.
Such work requires accuracy and patience, only then
the result will be a long time to please the owner of a pedicure and attract
attention of others.
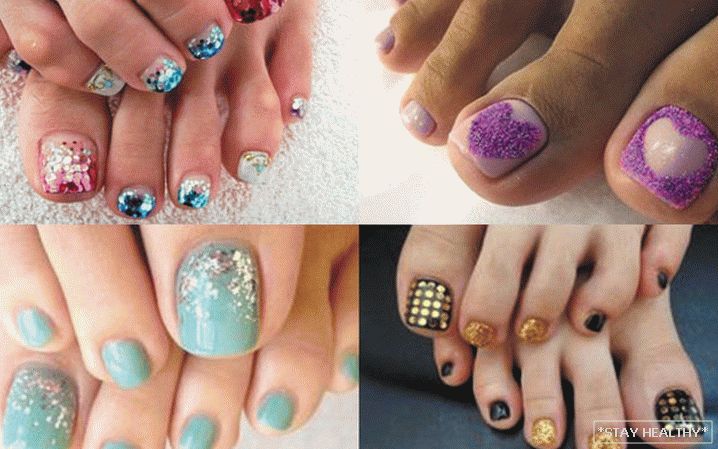
Actual ideas for the future fashion season can be
The following types of nail art (painting nails):
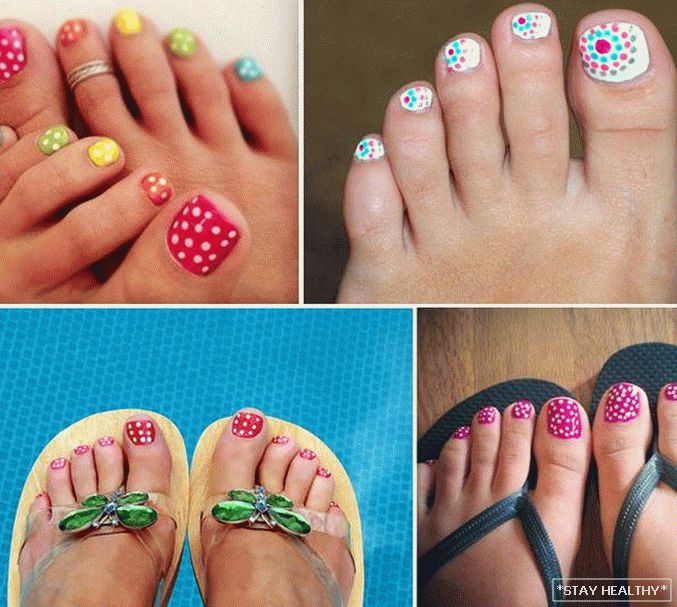
- 1. Peas.
Peas are painted on a plain background. They can be one
a certain tone or multi-colored. To create them use
orange stick or dots (special metal
tool). Original design looks when peas are drawn
only on the thumbnail and the rest are covered by one
color or each different shade.
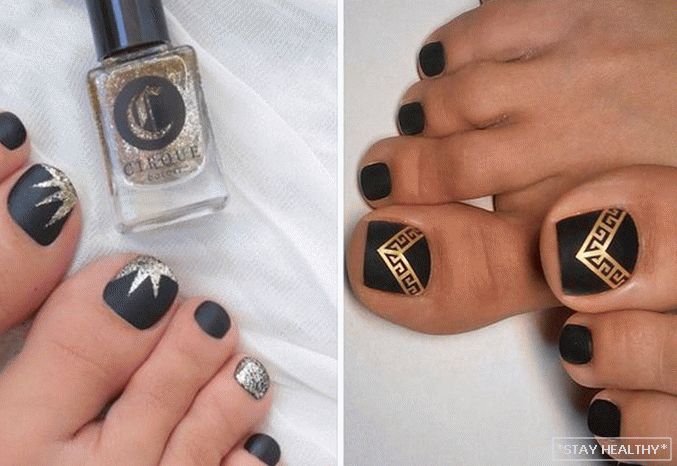
- 2. Gloss on matte surface.
ATыглядит такой педикюр необычно, а сделать его довольно просто.
Butготь по всем правилам покрывается цветным гель-лаком, снимается
sticky layer. After that, the surface is treated with a soft buff to
create a haze effect. Then the same color on the matte
surface is done drawing and dried. Final cover
put only on top of the picture.
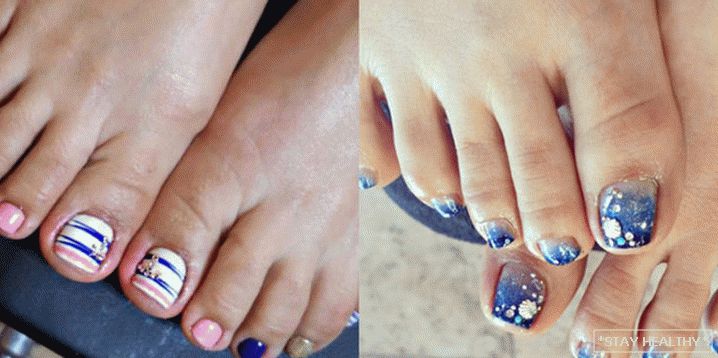
- 3. Sea motives, abstraction, graphics.
For such a design, the nail is first coated with monochromatic shellac,
then dried and applied a drawing, then dried again and
secure.
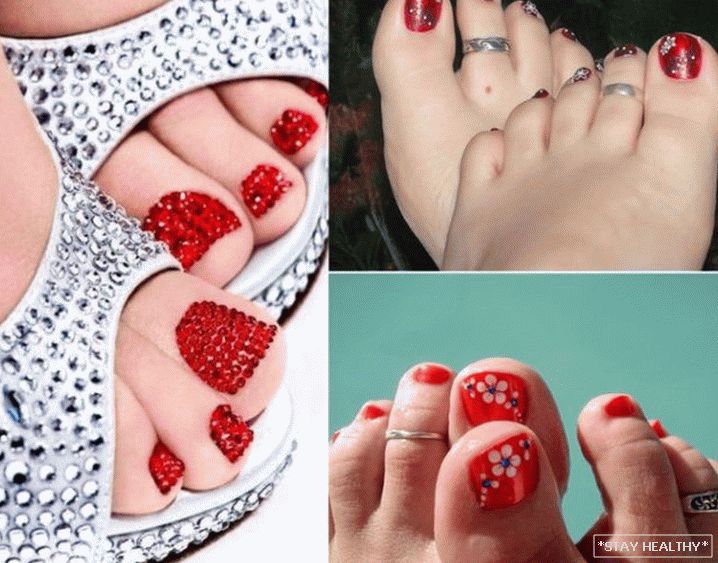
- 4. Using liquid stones, beads, beads, glitter
(small, crumbly, colored spangles).
For a long time, pedicure with decoration has been popular.
one nail rhinestones. The main condition for the creation of such a design –
securely fasten the decor elements.
The process of creating your own nail designs for most
women are not only useful but also enjoyable, which allows
realize your creative abilities.
Compliance with all the rules and recommendations allows you to save
pedicure until there is a desire to change the design.